
Scripting is an important part of the National Cyber League (NCL) Games, but sharing code with your teammates can be a hassle. An entire git repository can seem like overkill for a few quick one-off scripts, and in-person, real-time collaboration isn’t feasible at all. Like so many things, I found myself thinking, “there has to be a better way,” and I was right.
There are multiple software solutions that exist to make sharing small snippets of code with your teammates a piece of cake, and they take way less time to setup than baking said cake.
This is not a Python tutorial, but a tutorial on how to effectively share and edit code as a team.
Bring in the candidates!
The parent of all the candidates – Jupyter
There are quite a few options available for collaborative coding with your teammates, but at the end of the day most of them either are (or are based on) Jupyter Notebooks. Jupyter Notebooks is an amazing hybrid between word-processing software and an IDE (integrated development environment). Jupyter started out as a tool used for data science, but it has so much more potential. Jupyter supports multiple programming languages and has markdown support so you can easily take notes alongside your code.
While Jupyter is great, there are other spin-off platforms that allow users to have the functionality of a hosted Jupyter Notebook service without having to deal with the hassle of hosting it themselves.
Google Colab
Google Colab, which is short for Google Colaboratory, is a modified version of Jupyter Notebooks that integrates with Google Drive. Colab is probably the easiest free option. The fact that it integrates with Google Drive alone makes it challenging for other platforms to compete with Colab. The downside with Colab is that it only supports Python, so if your team decided on a different language you might want to look elsewhere. Colab also supports pip install, so you can install needed dependencies for the project.
Microsoft Azure Notebooks
Azure Notebooks is Microsoft’s hosted Jupyter Notebooks service. Azure notebooks has a more pure Jupyter Notebooks experience and offers the user four different programming languages: Python2 , Python3, F#, and R. This is really nice if your team wishes to use R or F# instead of Python, but this comes with some downsides: The free tier offered by Microsoft is not nearly as generous as Google’s (who offers 12 free hours of GPU compute) and you do not have access to the simplicity of Google Drive integration.
DIY via Jupyterhub
There is always the option to host your own Jupyter instance to share with your teammates. This can be done using Jupyter’s own multi-user distribution of Jupyter Notebooks. While this is the most time-consuming option on this list, it still is not all that hard and you can reap some rather large rewards. You can use any language that Jupyter Notebooks has a kernel for (this includes languages like golang and rust) and your compute power is limited only by the hardware you have. So, if you are willing to take the extra time to setup, maintain, and secure it, a DIY instance may be the right answer for you. I suggest you combine this with LetsEncrypt so Jupyter can use https, and use Duckdns for a domain name and you will have a solid setup.
And the winner is…
…..honestly whatever is easiest for you and your team to use. In the past, my teams have used Google Colab because it integrates with Google Drive for easy sharing access; however, I also understand wanting the finer control of Jupyter you get from having your team create your own instance.
Actually using Jupyter for the team games
For the following example, I am going to use a local install of the Jupyter interface. Luckily, both Google Colab and Azure Notebooks have extremely similar (if not the same) interface.
First and foremost, before we even touch on how to use Jupyter, make sure you distribute access to everyone. Either share to their respective accounts on Google or Azure Notebooks, or give them credentials for a self hosted instance.
When you open up your Jupyter Notebooks software you will be greeted with something that looks a lot like this.
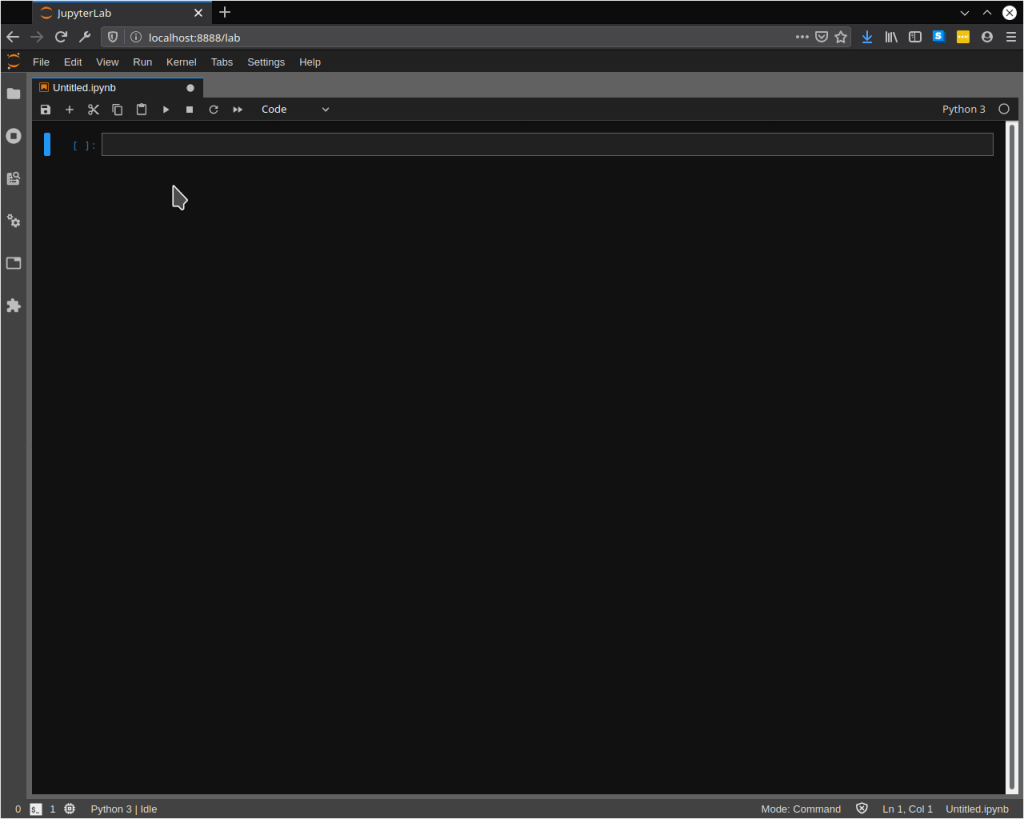
While there looks to be a lot going on, there are really only two things you will need to deal with — the notebook editor and the toolbar for the notebook.
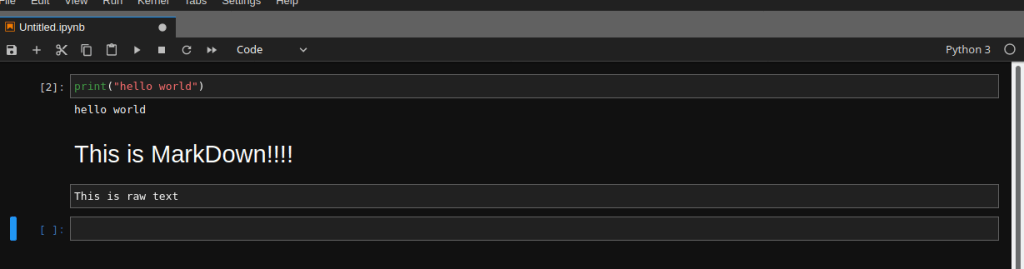
The notebook editor contains cells. Cells can be the following things:
- Code Cells (These are used to execute Python)
- Markdown Cells (These are used to render markdown)
- Raw cells (These are just raw text)
Cells make up the body of your notebook and can be rendered by using the run button while they are active (on the toolbar) or by using the Run>Run All Cells drop down menu. (I strongly recommend this way of running/rending cells.) Here is an example of the different cell types.
Now let’s look at the tool bar.

This looks like your standard editor tool bar. The most important part of the tool bar is the drop down menu that lets you select between code, markdown and raw. You will be changing that a lot.
Ensuring your teammates don’t hate your code/notes
Jupyter is only as good as the notes and code you put into it. If your code and notes suck, then your notebook will not be of great quality, sorry. Luckily, it is not that hard to have clean code and notes in Jupyter.
Step 1: Agree on code style with your teammates ahead of time
Following a proper code style guide and ensuring your whole team follows it is an important part of getting group code to look neat and clean. Here is an example of two teammates not following the same style guide.
def log_things(inp):
    print("PROGRAM> " + inp)

log_things("howdy")
def logThings(input):
    print('PROGRAM> {}'.format(input))

logThings('howdy')
Both of these accomplish the same result, but introduce a level of inconstancy that makes reading the code a pain.
Step 2: Comment or describe your code
Either use # Comments inside of the code block or a markdown/raw text block to describe what is going on inside of the code. That way, your teammates spend less time trying to figure out what your code does and more time helping to solve a challenge. This also includes linking to any documentation that you have used.
Step 3: Run performance sensitive code on your own machine
If you are implementing multiprocessing in your Python scripts, don’t run it on a Jupyter instance. This will just bog down Jupyter and could cause processing limits to be reached much faster than anticipated. As a rule of thumb, don’t use the threading module; instead, use multiprocessing. The quick explanation is that Python cannot have true multi-threading, but multiprocessing allows it to have something close to true multi-threading by bypassing the mechanism that prevents true multi-threading.
A final note
Jupyter is a super useful tool for collaborative events like the NCL team games. Since I didn’t want to make this blog about setting up your own Jupyter hub server, I think the very least I can do is give the people who want to DIY an instance a link to the docs.
Happy Hacking,

One thought on “Collaborative Python Scripting for the Team Games”